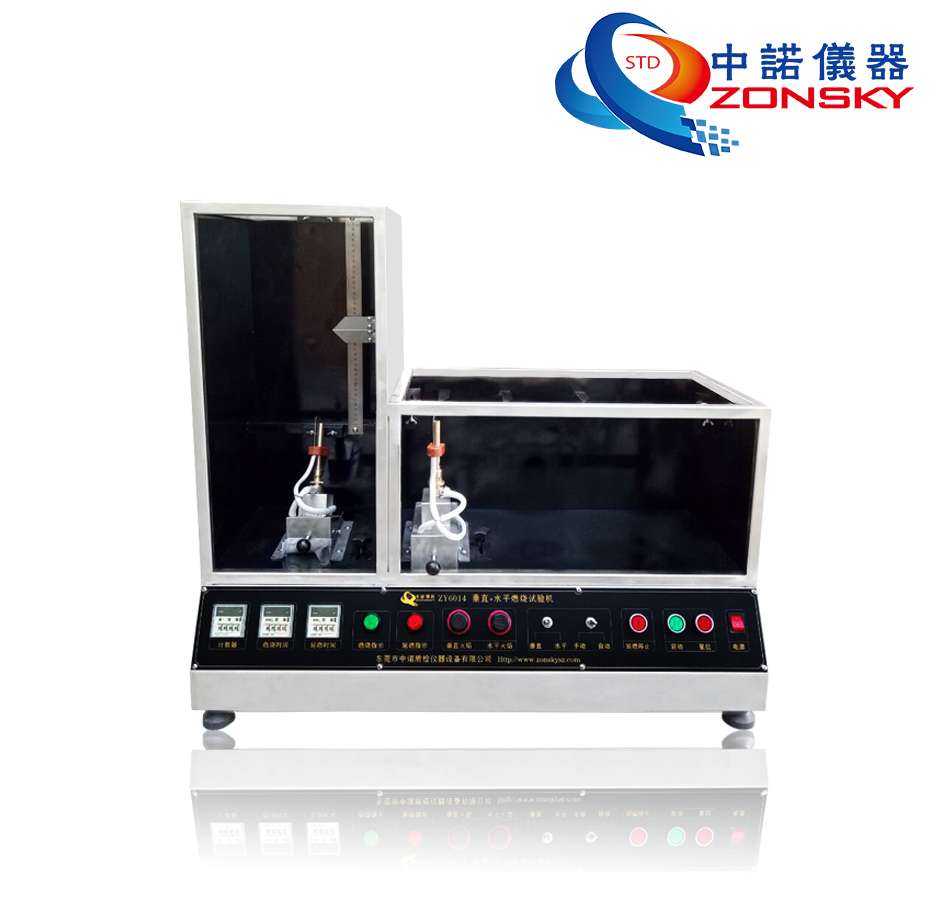
The vertical horizontal combustion test machine of the wire and cable is the standard of the UL1581, UL13, UL444, VW-1 of UL1655, and the FT-1 of CSA. Check the burning test of various wires and cable insulation materials, print circuit board materials, IC insulation and other organic materials. Many current wires and cable companies are equipped with the test apparatus.
1. Work principle Wire and cable vertical horizontal burning test apparatus consists of two parts: burning test box and control cabinet. The main function of the wire and cable vertical horizontal combustion test machine is to generate standard flames for testing, as well as functions such as the burning space of the flame retardant cable, the auxiliary temperature measurement method, and the time measurement. The control cabinet is a device that generates more than 5 times the current working current of the cable. The working current of (10~5000)A can be generated according to the measurement requirements.
2. Calibrate standard equipment
Calibrate the mining cable load burning test apparatus, the following standard equipment must be available:
(1) Steel rolls ruler (0 ~ 5) m: 1 pcs
(2) Vernier Caliper (0 ~ 150) mm: 1 pcs
(3) The range is (0~100)A, (0~500)A, (0~1000)A, (0~5000)A standard electrical sensor 1 for each, or multiple range standard sensor 1 pcs; ammeter above 0.2 level 1 pcs.
(4) The thermocouple test device. The range is (0~1300) ℃.
(5) Secondary meter calibration: The standard signal of the K -type can be output.
(6) Electronic stopwatch: 0.01 seconds points.
3. Calibration environmental conditions
Environmental temperature: (-15-45) ℃, relative humidity: (30 ~ 80)%RH
4. Calibration projects and calibration methods
4.1 Measurement of the size of the burning test apparatus
Use steel roll ruler and vernier caliper to measure the size of the mining cable load burning test box.
(1) The box size of the burning test apparatus shall meet the following requirements (the allowable error is 2mm).
4.2 Work current, temperature instrument, time parameter measurement
(1) Work current measurement
The working current measurement, according to the range of the inspection, select the appropriate cable, pass the cable through the primary ring of the sensor, and then connect the cable to the control box current output terminal, and connect the sensor to the standard instrument. Five points are evenly selected on the measuring range output volume, which must include large current values.
Slowly lift the current to each test point, and then read the standard display value. The value of the detection value minus the standard value is the error of the output current, and the allowable error is 5%.
In the current measurement, it must be noted that when a large number of processes are performed, due to the great current value, the connection between the cable and the connector must be required to be reliably connected. When raising the current, pay attention to observing the joints. If glowing smoke appears, the experiment must be stopped immediately and the connection must be checked.
(2) Temperature instrument measurement
Use the second instrumental calibration to check the temperature measurement instrument in accordance with the requirements of JJG617-1996. According to JJG351-1996, the thermocouple is removed from the device, and the thermocouple test device is verified. The temperature range of the test is (0 ~ 300) ℃.
(3) Time measurement
The timing device and electronic stopwatches on the test machine starts the timing at the same time. And the timing is stopped at the same time. Time measurement points are selected for 5 minutes, 10 minutes, 20 minutes, which is measured 3 times per point. According to the measurement results, That the time setting by timing device minus electronic stopwatch measuring time is the time measurement error and the allowable error is 2s'.
5. Calibration results expression
After the calibration is completed, the calibration certificate is issued, and the calibration data is filled in accordance with the measurement data.
6. Repeated calibration time interval
The interval of the repeated calibration time is determined by the user according to the usage, and it is recommended to be 12 months.
 WhatsApp:
 Mobile Phone:
 Contact Now